Want to know how to install an aquarium grounding probe? It’s easy. I’ll show you how. Installing the probe in my saltwater tank took me less than one minute. In fact, it took longer to take a few pictures and open the package than it took to install.
How to install an aquarium grounding probe in less than a minute
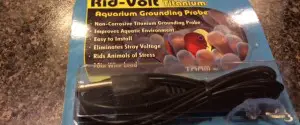
Here is the aquarium grounding probe I used. I added it to my shopping cart one time to ensure I spent enough on Amazon to get free shipping. Boy are they smart–they have me pegged! I’m a sucker for free shipping.

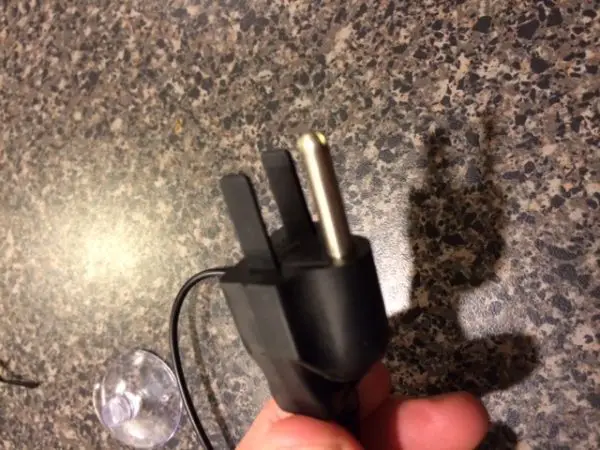
Inside the package, there were only two pieces–the wire and a suction cup. On one end of the wire was the plug (looks like a typical 3-prong plug you would install in a standard outlet–at least here in the US–the only exception is that the two rectangular prongs were made of plastic)
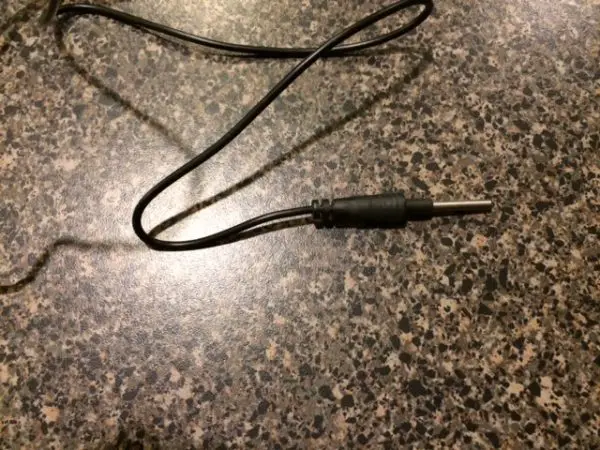
and the other end of the wire was the titanium grounding probe.
- Step 1: Slip the grounding probe into the hole in the suction cup
- Step 2: Attach the suction cup to the glass in your sump (or aquarium) below the water line
- Step 3: Plug it in
I am pretty sure that I have mentioned this before on the blog (2013 year in review, testing for stray electricity) –but I have been shocked several times from stray voltage from lights, heaters and pumps. During the times it happened, I actually found it to be amusing (I have a twisted sense of humor), but the reality of the matter is that it could have been a serious issue. I could have been severely hurt–and I never would have known there was a problem until it was too late. I also have three kids–and I don’t even want to think about the fact that they could have been hurt.
This simple device–the aquarium grounding probe–cost me $10 on Amazon (which was really almost free if I look at the price I would have had to pay for shipping…or at least that’s what I tell myself), arrived at my door and took less than a minute to install.
If you don’t already have a grounding probe for your aquarium, GO GET ONE. Take a minute and install it.
Here an affiliate link to the same one I bought on Amazon:
Rio RV2735 Rid-Volt Titanium Grounding Probe
I’m pretty sure you can get this brand at most aquarium shops
Why installing an aquarium grounding probe is important
Stray electrical voltage is known to cause stress and even symptoms of ‘disease’ in fish like HLLE (Head and lateral line disease). It can also cause pain or even injure you or a loved one. The grounding probe safely directs any stray electricity out of the tank, away from you and out of harm’s way.
Leave a Reply